How to Use the Putting-on Tool

Our shops are full of tools for taking off metal, but precious few for putting it back on. Try this scenario: You are taking the final cuts on a spigot that has to be a close fit in another part which has already being bored. The spigot is, naturally, on a costly or perhaps irreplaceable casting. You measure and calculate the top-slide advance needed for the penultimate cut. You make the cut and re-measure. What? It's gone undersize!! Impossible! Oh...
STOP. DON'T PANIC! It may not be the end of the world, and taking the poor, innocent victum out of the chuck and throwing at across the workshop is NOT the answer--in fact that's a temptation (ie, to hide your shame) that must now be avoided at all cost if you are to retrieve the situation.
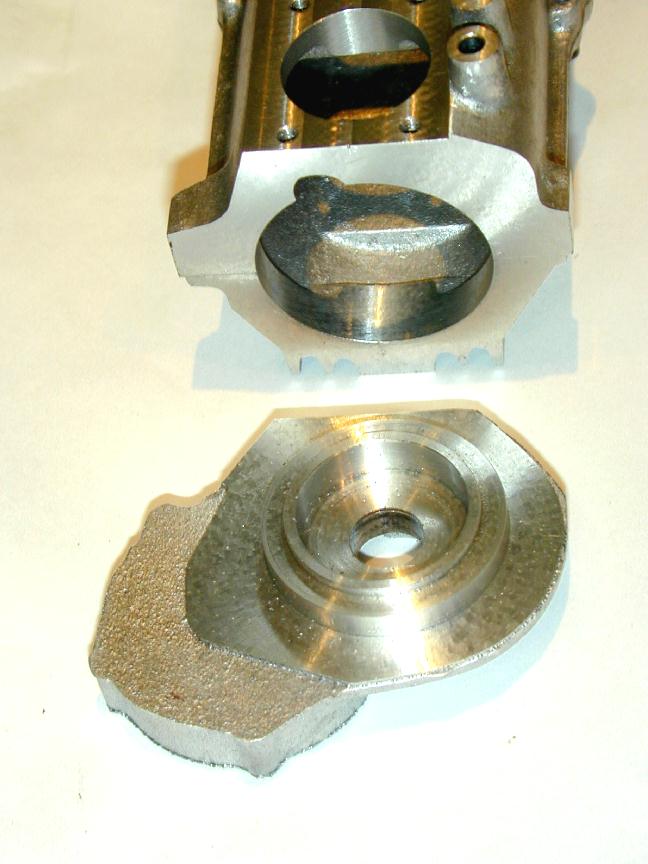
Naturally, I speak from experience--to relive just one such case: the rear case cover for a Zimmerman Cirrus I (the 1/6th scale one). It happened exactly like the scenario above. The casting had been carefully setup in the 4JIC--a tricky task as the shape is very irregular and the location of the spigot will govern how well the cover profile aligns with the oddly shaped crankcase. The ball-race cavity had been finish turned and all was going well. The mistake happened on the penultimate cut (as it nearly always does).
I was so disgusted with myself that I removed the part from the 4 jaw, cleaned up the shop, and went to bed. Lying there, I suddenly realized what a mistake that had been. Ok, it was undersize, but it was still aligned before I stupidly removed it from the chuck. All I really had to do was go further undersize, fit an oversize ring of aluminium, and turn that down the correct size. But by removing the casting from the set-up, I'd complicated the relatively simple sequence immeasurably. As a result, the Cirrus project "went under the bench".
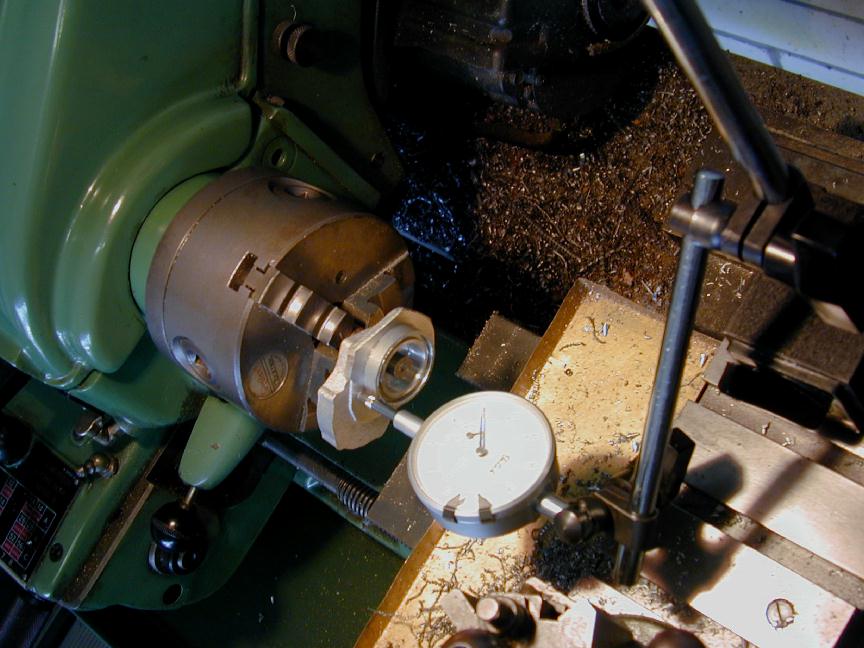
Ona any project, I frequently find myself thinking and planning what is to be the next step. In the case of the stalled Cirrus, it was relatively simple: turn up a ring to build up the undersize spigot (easy). Remount the casting so the ball-race cavity ran true in all planes (hard, hard, hard). Further reduce the spigot to match the ring; glue the ring on, and machine it to the correct size (easy). So while a relatively straight-forward sequence, but the prospect of aligning the casting for zero run-out in three planes was enough to put me off for the next 5 years.
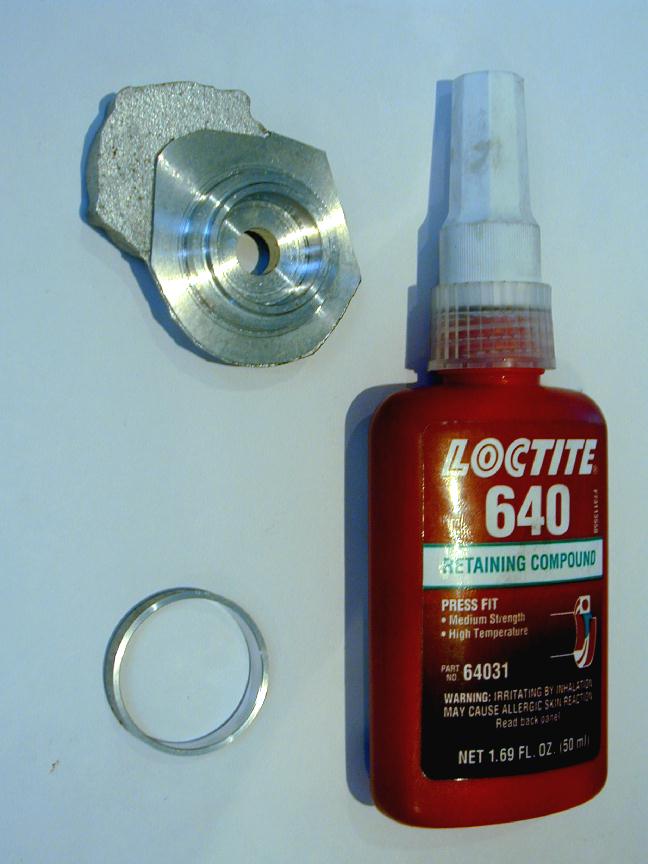
I won't bother detailing how the part was eventually realigned; that is essentially immaterial to the moral of the tale. All you need is a bottle of Locktite, some scrap material, and a calm approach--specifically:
- When disaster strikes, pause and think first!
- If the part can be recovered by sleeving, decide how much more metal needs to come off to make the sleeve a comfortable size. Most model engineers will have two lathe chucks, so remove the one with problem still in place and gently put it aside.
- Mount the other chuck and machine the ring so it will have comfortable wall thickness when finally turned down--say 0.02" as a minimum. Make it just a bit longer than it needs to be. If it is being fitted up to a shoulder, chamfer the opening to allow for the radius at the spigot/shoulder junction.
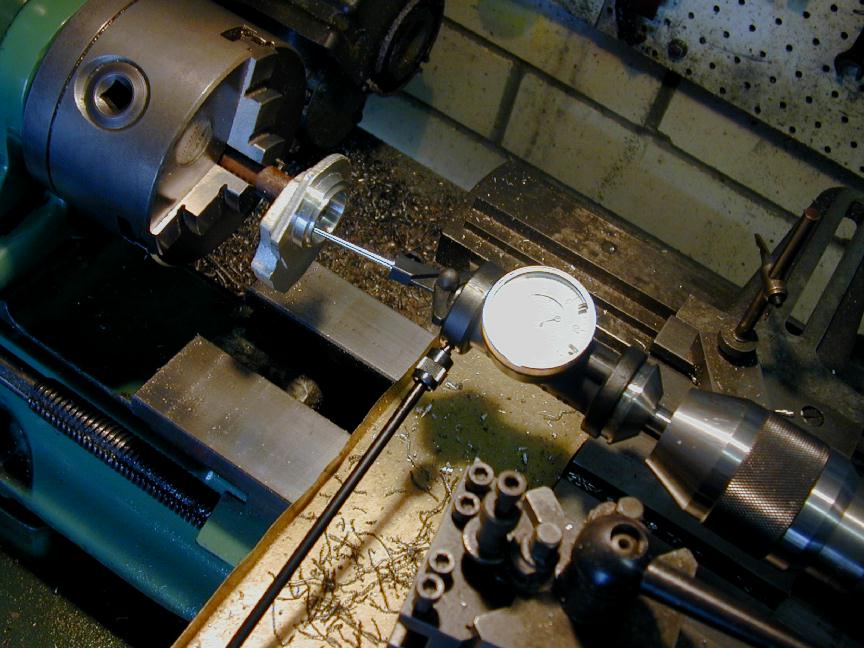
- Refit the work and turn it down to be a very close sliding fit into the sleeve. Locktite needs a little space to cure in, 0.001" to 0.002", so remove that much from the middle, leaving narrow bands at either end that will support and align the sleeve.
- Smear a film of Locktite onto the spigot and quickly push the ring home. Another reason we relieved the center of the spigot was to prevent this operation from wiping all the adhesive off.
- Clean off any excess adhesive and wait a while--five minutes is plenty--then face it back and machine down the sleeve to the dimension you were aiming for in the first place.
 So, while it's not exactly the magical, mystical, putting-on tool, it is the next best thing and a real life (or project!) saver. For a variation on this theme, read how yours truly went oversize on a critical bore while making the Quorn cutter-grinder, and made a couple of internal sleeves before finding a satisfactory solution in A Rank Beginner Builds the Quorn. Above all, store the knowledge that all may not be lost away for future use, and remember, when it happens: stay calm and think first!

This page designed to look best when using anything but IE!
Please submit all questions and comments to
enquiries@modelenginenews.org
Copyright (c) Ronald A Chernich, 2005. All rights reserved worldwide.