GHT UPT
Construction Log:
Table
Created: November 2006

Cast iron. Great stuff, but I'd forgotten what a dirty job turning large cast iron pieces can be. While CI is wonderful when it's done, the dust gets everywhere, and I mean everywhere. My cat, Buster, who likes to snooze in the workshop while I'm there will never forgive me. Lucky he's a brown Burmese, so you can hardly tell  . Not so us humans. You just about need to scrub the top epidermis layer off to get your hands clean again. When finished, the UPT table is 6" in diameter. Get that? Six inches. SIX! Not six point something, SIX!! Sigh. Read on...
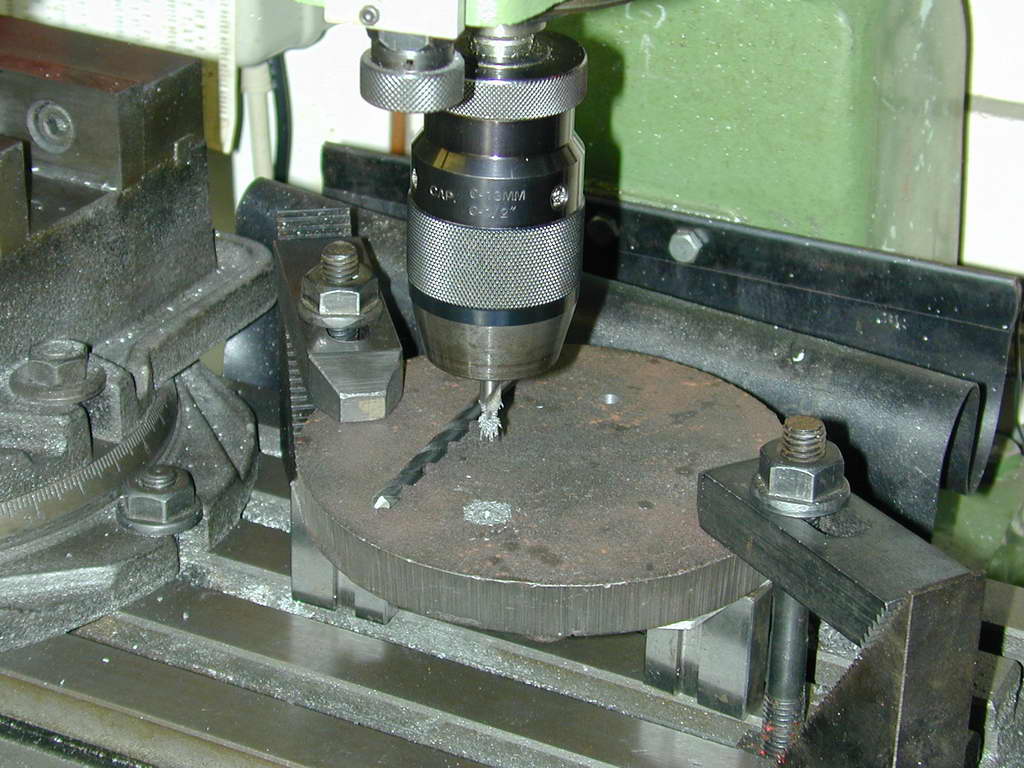 Photo 48 |
 Photo 49 |
 Photo 50 |
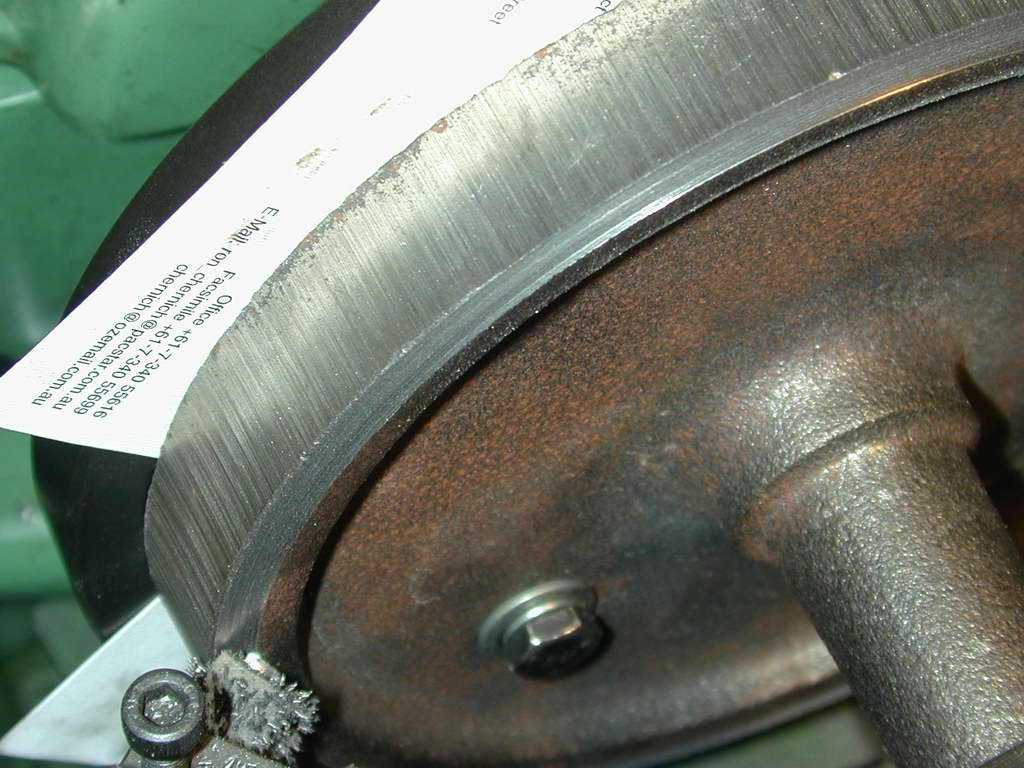 Photo 51 |
GHT says mount the raw table to your faceplate by drilling a couple of 3/8" holes so they will fall between where the 5/16" wide table slots will be when it's finished. I figured I could get away with 1/4" holes that would fall inside where two of the slots would be. After drilling (48), the top of the casting is cleaned of the worst pimples with an old file so it can be screwed to the faceplate (50) with some business cards in between. These will prevent your faceplate being damaged by the rough casting and actually increase the friction between the two. The spigot is adjusted to run roughly true, then a rather deep first cut made to get below that hard CI skin (Photo 51). This skin can actually cut HSS, so you really need to get under it. Twenty thou for the first cut is good.
 The rim can now be finished almost to the faceplate and the spigot turned for a close sliding fit in the arms, as seen here. My table rim cleaned up somewhat before the 6.000" figure was reached, and figuring more was better than less, I left it at that. Bad mistake. This photo would even have hinted why. Can you spot it?
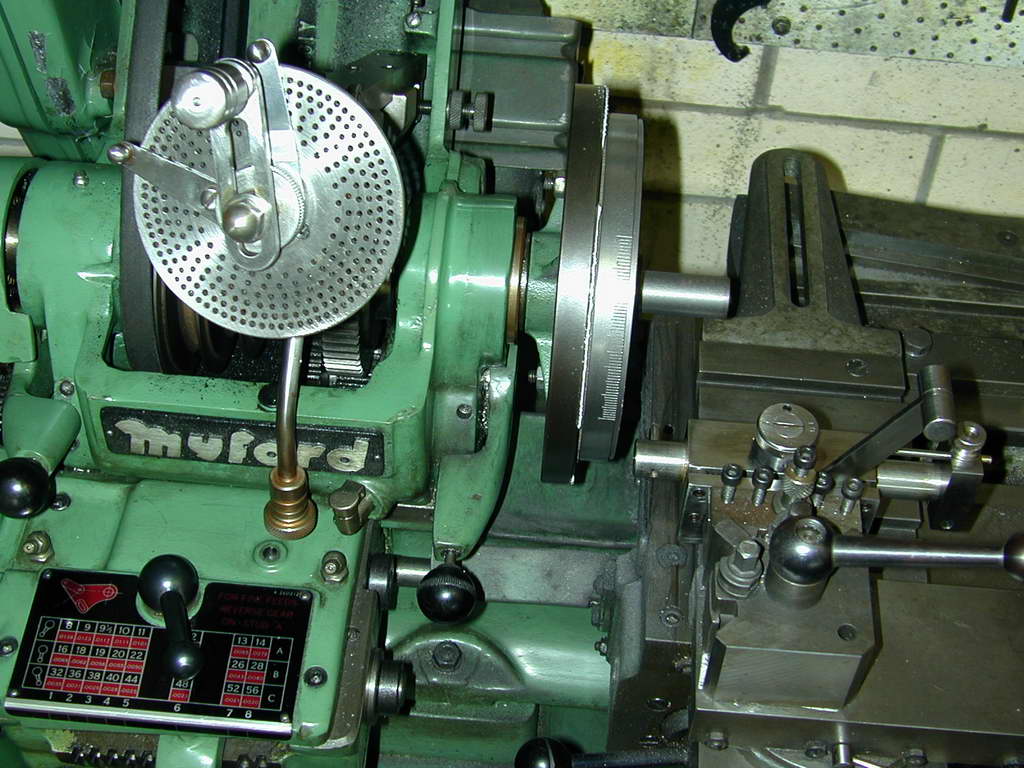 Photo 53 |
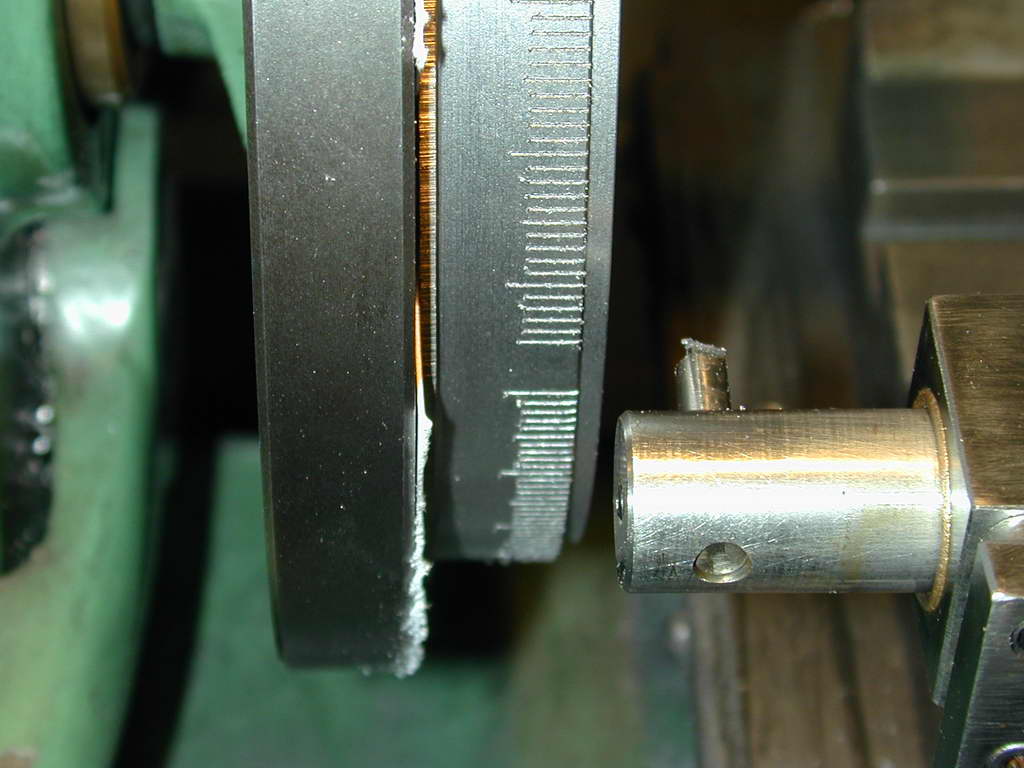 Photo 54 |
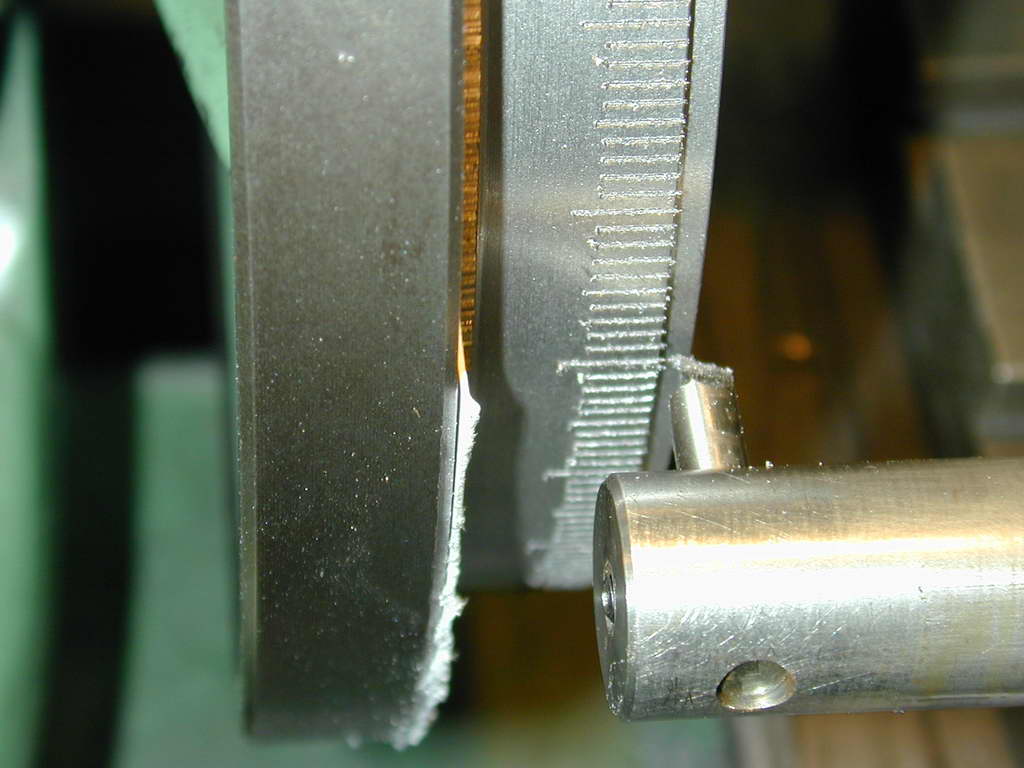 Photo 55 |
Graduating the table rim is optional, but as I had the GHT Myford bull-wheel, headstock dividing gadget—made from a Hemingway kit—and the Hemingway/Radford graduating tool [1], I decided to do the full job. When the UPT letter punch accessory is done, the tool can be used to stamp itself; very recursive. Photo 53 shows the divider fitted to the headstock and about 90 of the 360 graduations done.
The graduating tool has depth stops for different stroke lengths. Units in the middle, with fives on one side and tens on the other. You just need to select the right depth every fifth cut, either left or right of center. Turn off the radio, tv, and phone. Shut the cat out. Count out loud; seriously. Research has confirmed that hearing something places it in short-term memory much firmer than sub-vocalizing (and you can explain that you are not really talking to yourself). You really don't want to loose your place on this job. Photo 54 shows us almost done and Photo 55 is the moment of truth. Does the 360'th graduation go where the zero'th one was cut? It does. Perfect. Remove the table and go for a trial fit on the assembled UPT.
 Photo 56 |
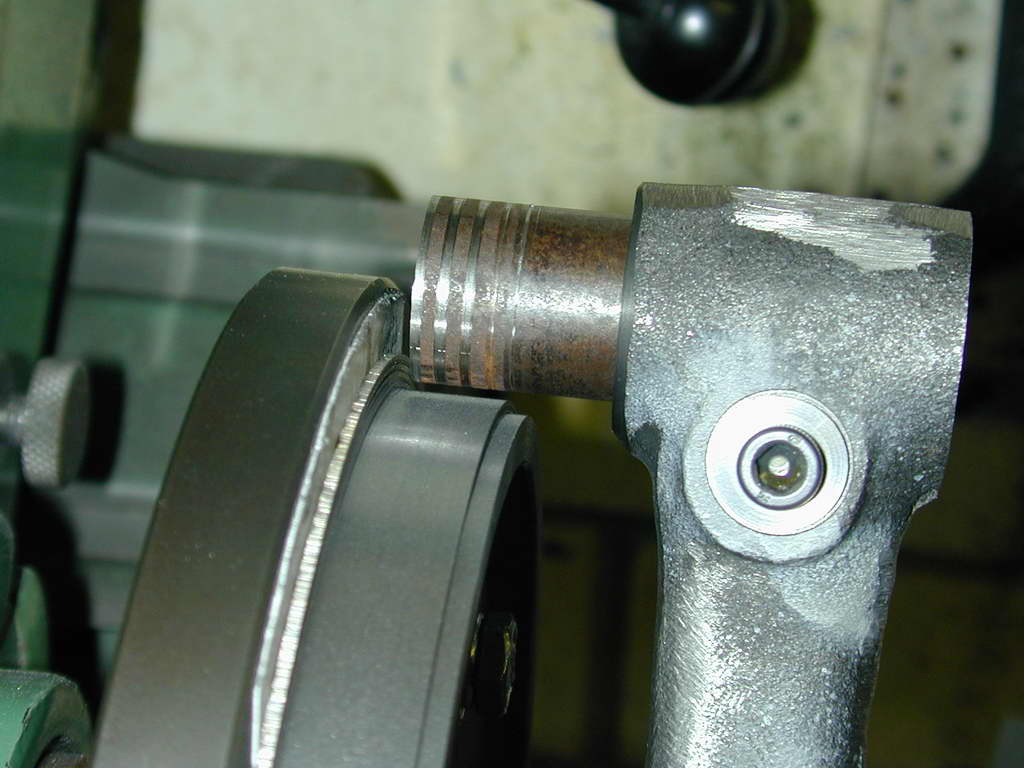 Photo 57 |
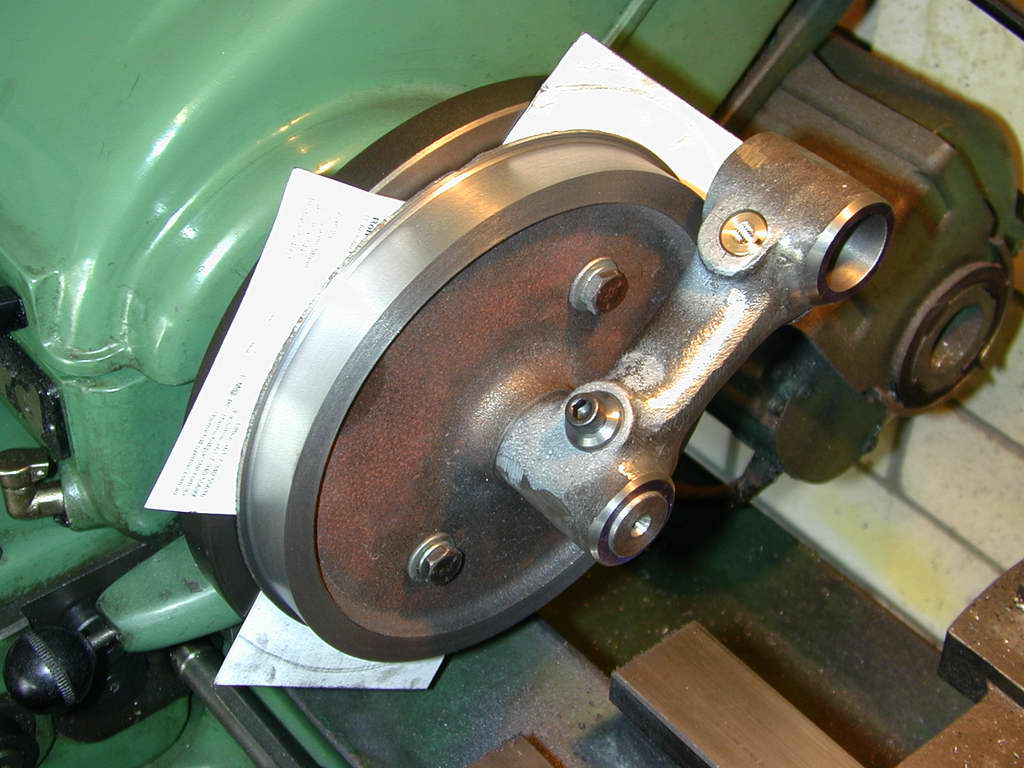
AARGHHH!!! The table's radius is larger than the distance between the arm outer bore and the pillar! It won't go on!! Guess they dimension these drawing for a purpose. So we re-mount the table on the faceplate and carefully re-center the spigot with a DTI. Then, Photo 56, turn off those 360 graduations and bring the table down to 6.000" so we can cut another 360 graduations. Turn off the cat. Shut out the phone... Photo 57 shows what I could have seen the first time. An arm clamped to the table spigot with a 7/8" slug in the other end clears the table perimeter. Note to self: remember this lesson!
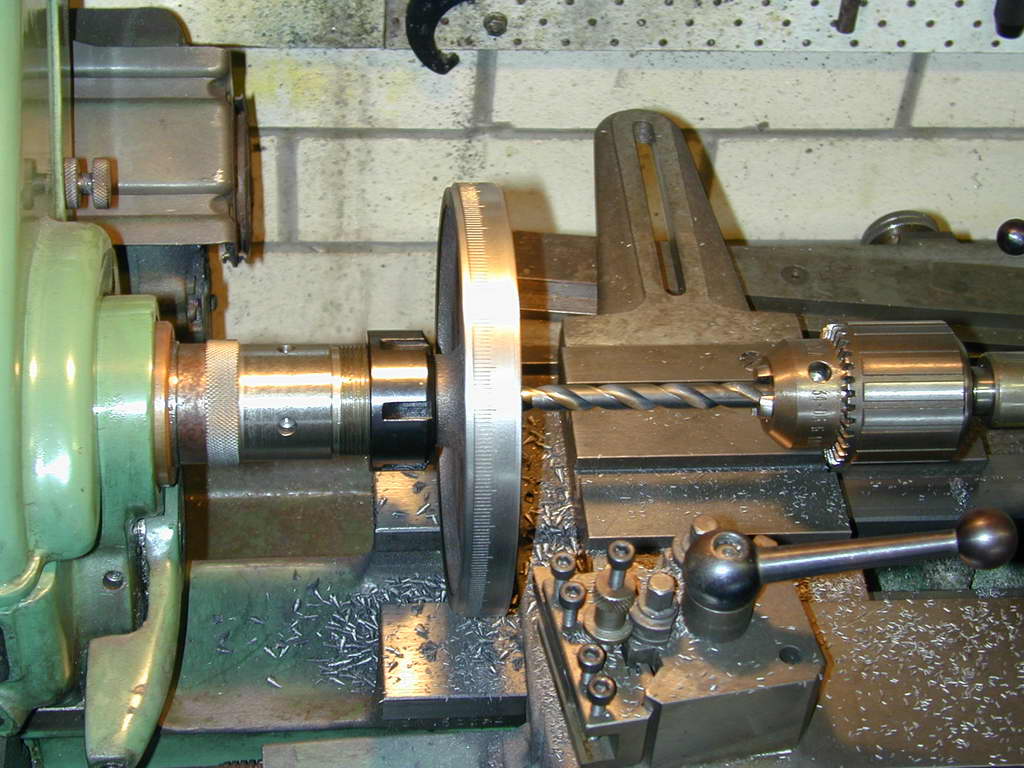 Photo 58 |
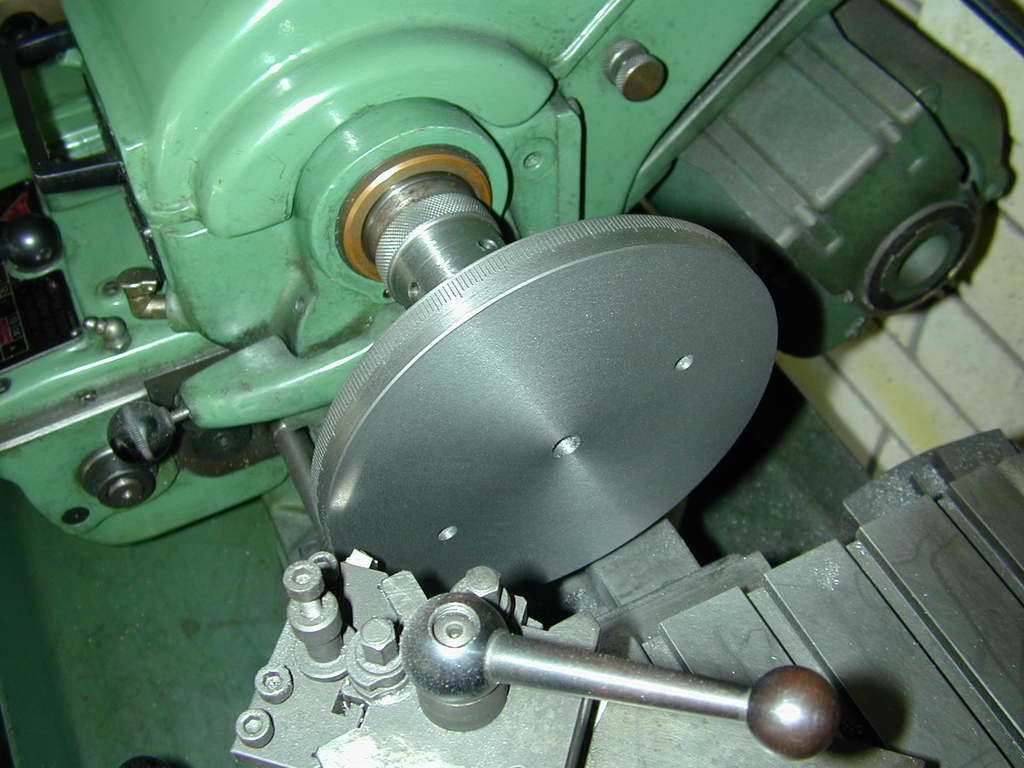 Photo 59 |
The table can now be gripped by the spigot to finish the top and drill and ream the central hole. I prefer to use collets for this as they grip much better than a 3-jaw chuck and will not damage the finished surface. The ER32 collet nose is a shop made tool that probably could have been a bit shorter, but what the heck?
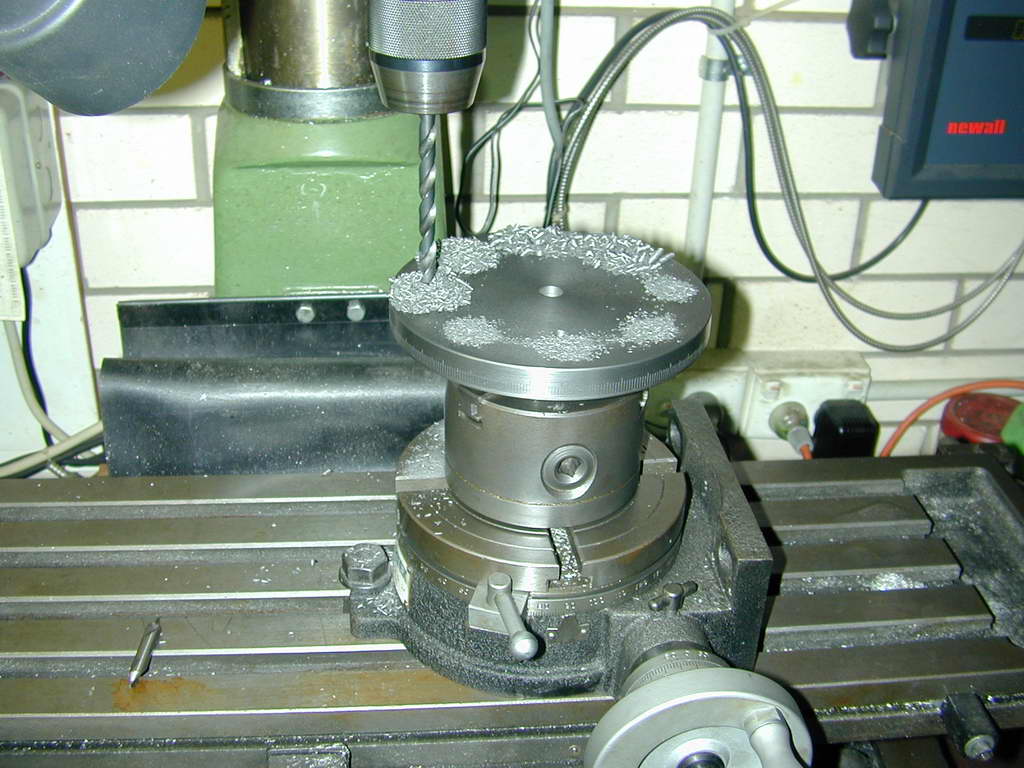 Photo 60 |
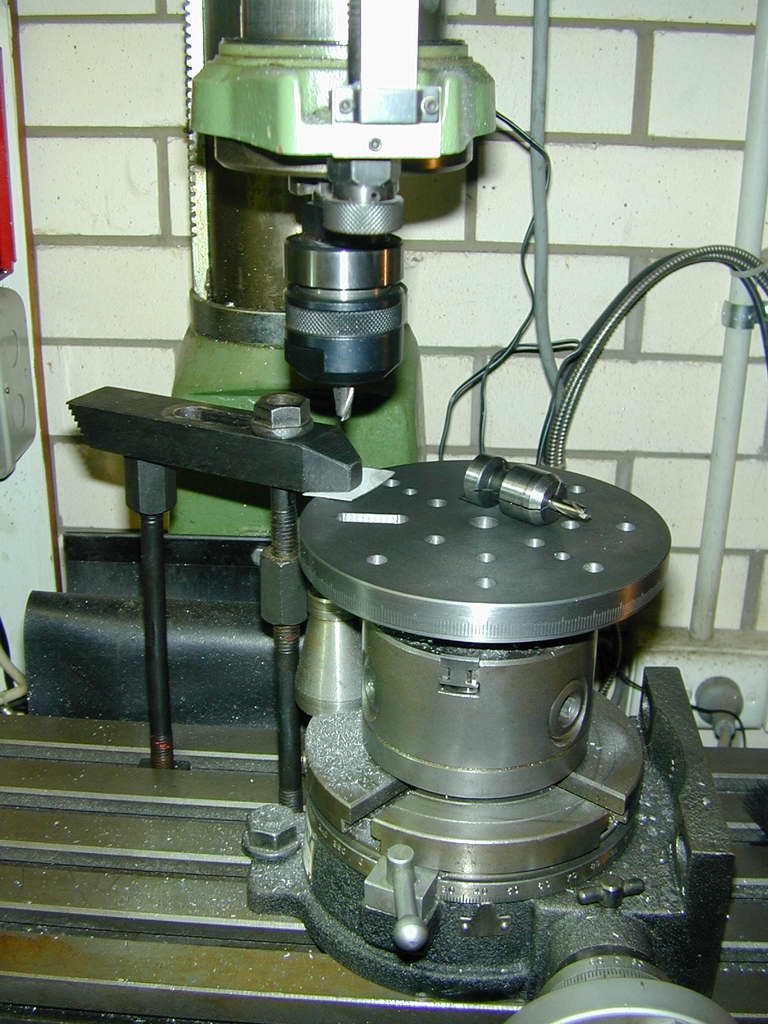 Photo 61 |
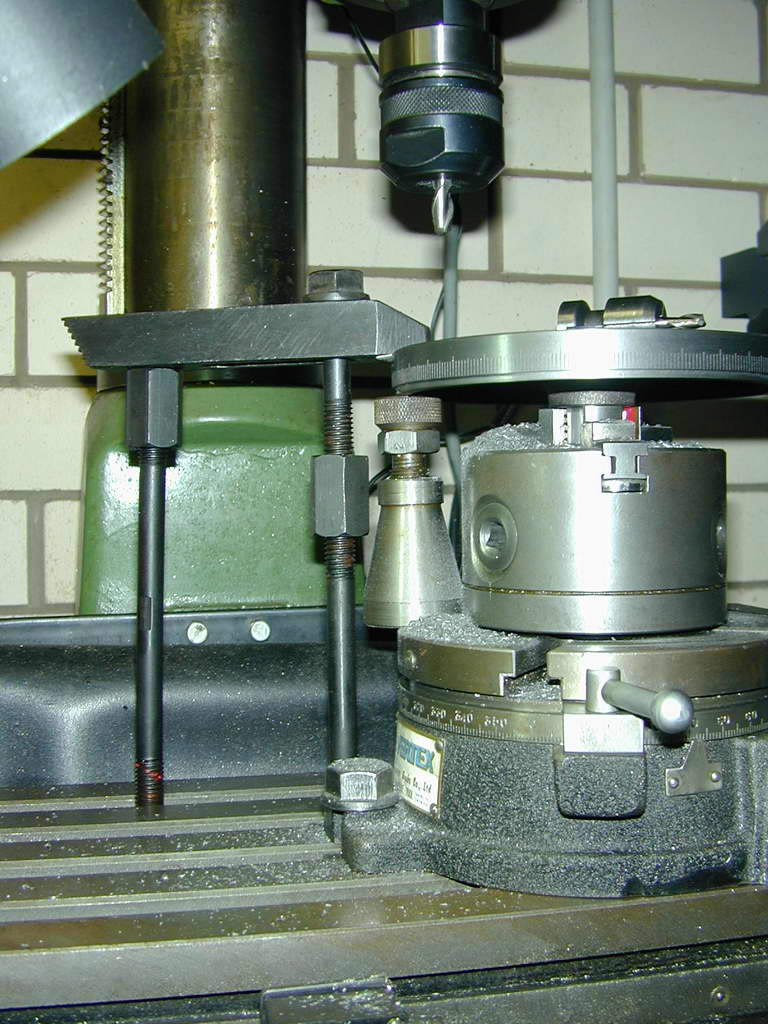 Photo 62 |
 Photo 63 |
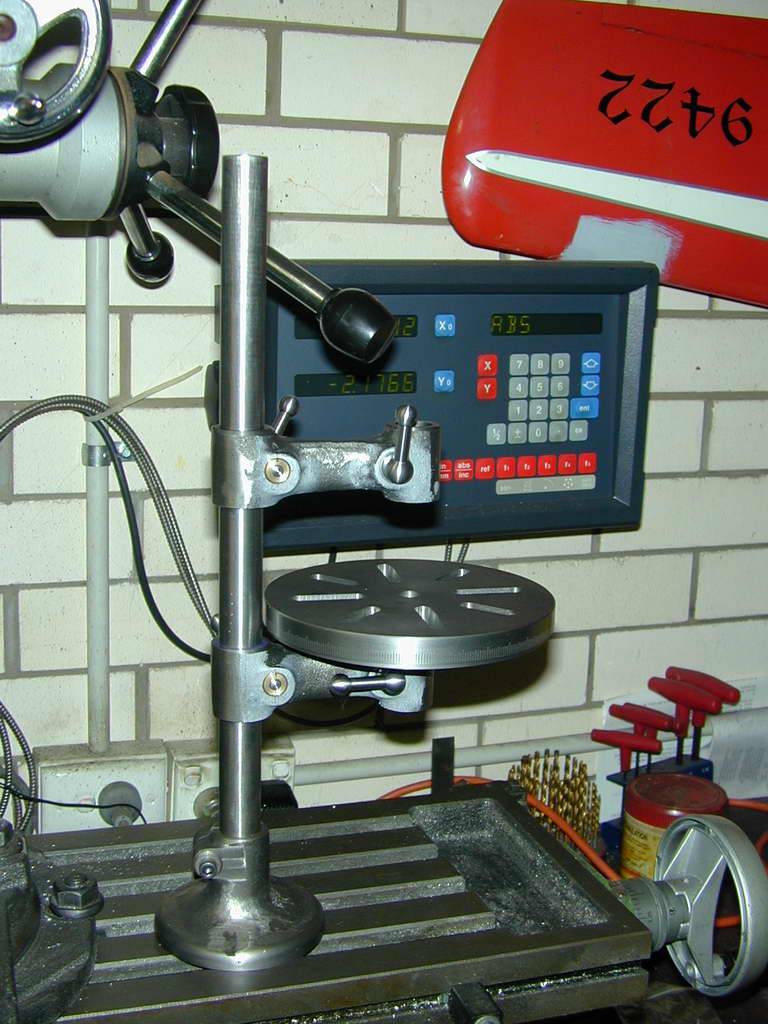
Photo 60 shows the table mounted in the 3-jaw chuck on the 6" rotary table under the mill to drill the end points of the slots. There are four short slots in between four longer ones. From experience with the horrible RF40 mill-drill, I know that that it is not rigid enough to take cuts anywhere near the cutter capacity without deflecting. So the slots will be milled, 0.030" deep per pass with a 1/4" slot drill, then finished with the 5/16" slot drill. A "slot drill" is called a "two-flute end mill" in the US for some reason. Everywhere else, it's a slot-drill. Don't use an end-mill (four-flute cutter) for cutting slots. It is impossible to cut a straight slot to size with an end-mill as GHT explains in his Model Engineers Workshop Manual.
But even with a nice sharp 1/4" slot drill, the setup is not rigid enough, so the rather Heath-Robinson arrangement of Photos 61, 2 and 3 is required. A shop-made "bottle-jack" is placed between rotary table and the underside of the UPT table, then adjusted to remove all slack. Bits and pieces from the mill clamping kit then let us firmly clamp the table down onto the jack giving a setup that is rigid enough not to shift under the cutting forces. Photo 63 shows the four small slots milled. The 1/4" holes used to screw the table to the faceplate earlier are not exactly on a diameter, but with some jiggling when drilling the slot-end holes (Photo 60), they *just* fall inside the table slots to-be.
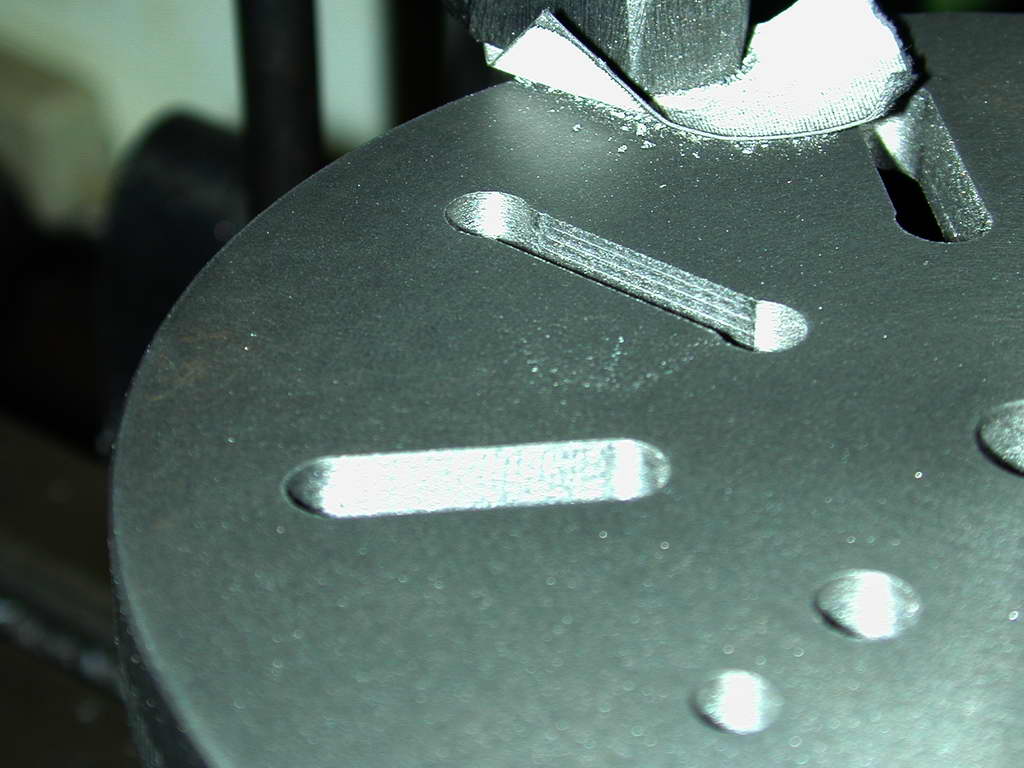 This shot shows the 1/4" roughing slot cut joining the two 5/16" end holes and a finished slot. Doing it again, I think I'd have made those end holes 1/4" too. This would reduce the amount of jiggling required to get the 5/16" cutter into the precisely right orientation required to join them up cleanly. Not that it matters all that much, but as they say, if a thing is worth doing...
 I'm calling it done for now. The numbers for the graduations still need to be stamped onto the rim, and if the table is to be used in the base casting, the carefully turned spigot needs to be cut off (!) and a longer one pressed in. But right now, it looks cool and we can progress onto making some of the tooling to fit the upper arm.

| Back: Handles | UPT Index | Next: Accessories |
 Model Engine News Home
This page designed to look best when using anything but IE!
Please submit all questions and comments to
enquiries@modelenginenews.org
Copyright (c) Ronald A Chernich, 2006. All rights reserved worldwide.